Food SOS – save our scraps people! Did you know you could make a delicious savoury relish out of watermelon rind that you’d normally toss in the (compost) bin? I have to thank Pinterest for this enlightenment.
I looked at a whole bunch of ideas for using up watermelon rind; pickled watermelon rind; watermelon rind jam and even watermelon rind candy, but I settled on the relish because it looked like a quick, simple and easy recipe…and it was!
I followed the recipe for watermelon rind relish from the Attainable-Sustainable blog with a few tweaks as follows:
- my red capsicum (bell pepper) was less than whole
- I didn’t have any jalapeno pepper so I used some crushed chilli from a jar (just a touch)
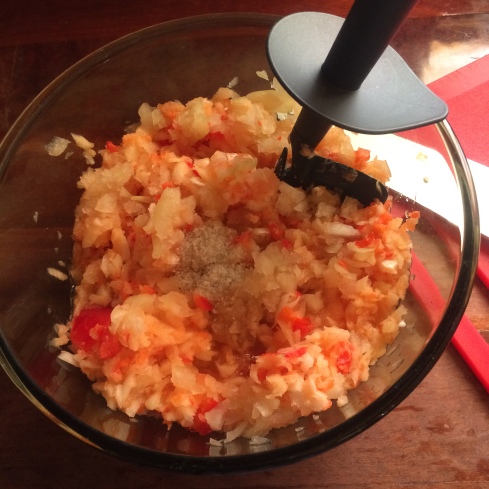
- I used mustard powder, about 1tsp as I didn’t have mustard seeds
I’m really into substituting and using what I have rather than running to the shops. It saves money, time and hassle.
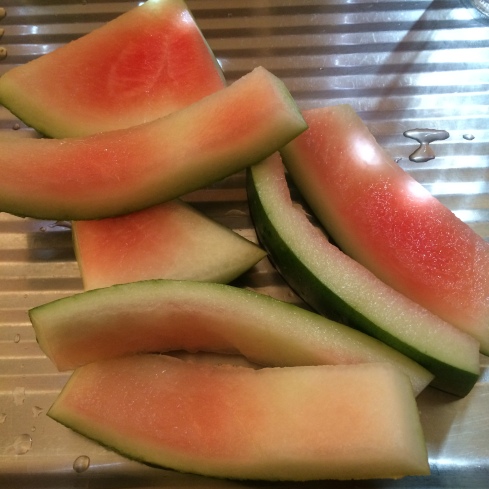
My rind came from a quarter watermelon piece which made up the 4 cups needed, this was from an everyday, large, seedless melon. I did use my Thermomix to quickly chop the rind, onion and capsicum. Next time I will probably do the simmering in the TM too.
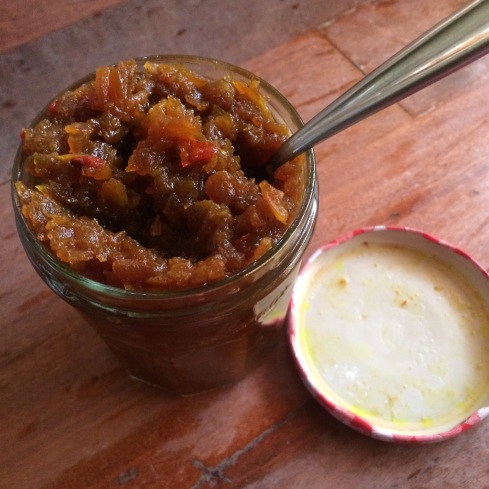
The recipe made two jars of relish which is a good amount for a two person household, I gave one to my Mum but there are also instructions on canning the relish if you want to keep it in the pantry rather than the fridge. I didn’t bother because we’ll eat ours straight away.

With cheese and crackers! Mum said she had hers on some corn fritters, oh my. Have to try that next. I just love that you can make something really yummy out of scraps that would normally go in the bin. Stay tuned for more posts on this topic.
There are a lot of worrying statistics out there about food waste. You can check out the facts at Foodwise about how much food us Aussies are throwing out. I really can’t stand wasting food in my household, probably because I’m a “Simple Saver” and to me it’s like throwing my money in the rubbish bin. According to Foodwise we are tossing up to 20% of the food we purchase, that is around $70 a month for our household or $840 per year. Oh My Golly. That’s just not good enough so I’ve decided to change my ways and I’ll be sharing my journey with you as I find out all the tips and tricks along the way as well as sharing what works for me and what does not.
So do you think you’ll try your hand at watermelon rind relish…or pickles…or candy? I’d love to hear about it. Also tell me how you eat your relish? On burgers? On crackers like me? Do you even like relish?
I tried to find out where watermelon rind relish originated from but couldn’t – if you know the answer please share it with us, I’m really intrigued.
Tags: food scraps, food waste, relish, thermomix, watermelon rind